

Showing posts with label paint. Show all posts
Showing posts with label paint. Show all posts
Thursday, 29 March 2012
simply chic treasures: Getting In On The OMBRE Trend!
simply chic treasures: Getting In On The OMBRE Trend!: I adore these ombre dresser, or anything ombre...these colours are gorgeous.


Thursday, 16 February 2012
Pocket Kitchen Nook
Well this is a different one...
Again going through the stuff Mum hasoffloaded passed onto me and I saw an old Home Ec project,...
sewing a pocket, the teacher wrote and A on it, and it has my name, and I thought....cute sorta, I loved my Home Ec days and it is red,...
 So here goes...
A frame from the Thrift shop

My very own A!!!

A spray painted frame

And wait for it...I just need to find some ric rac, wait for the paint to dry and will let you know........
Again going through the stuff Mum has
sewing a pocket, the teacher wrote and A on it, and it has my name, and I thought....cute sorta, I loved my Home Ec days and it is red,...
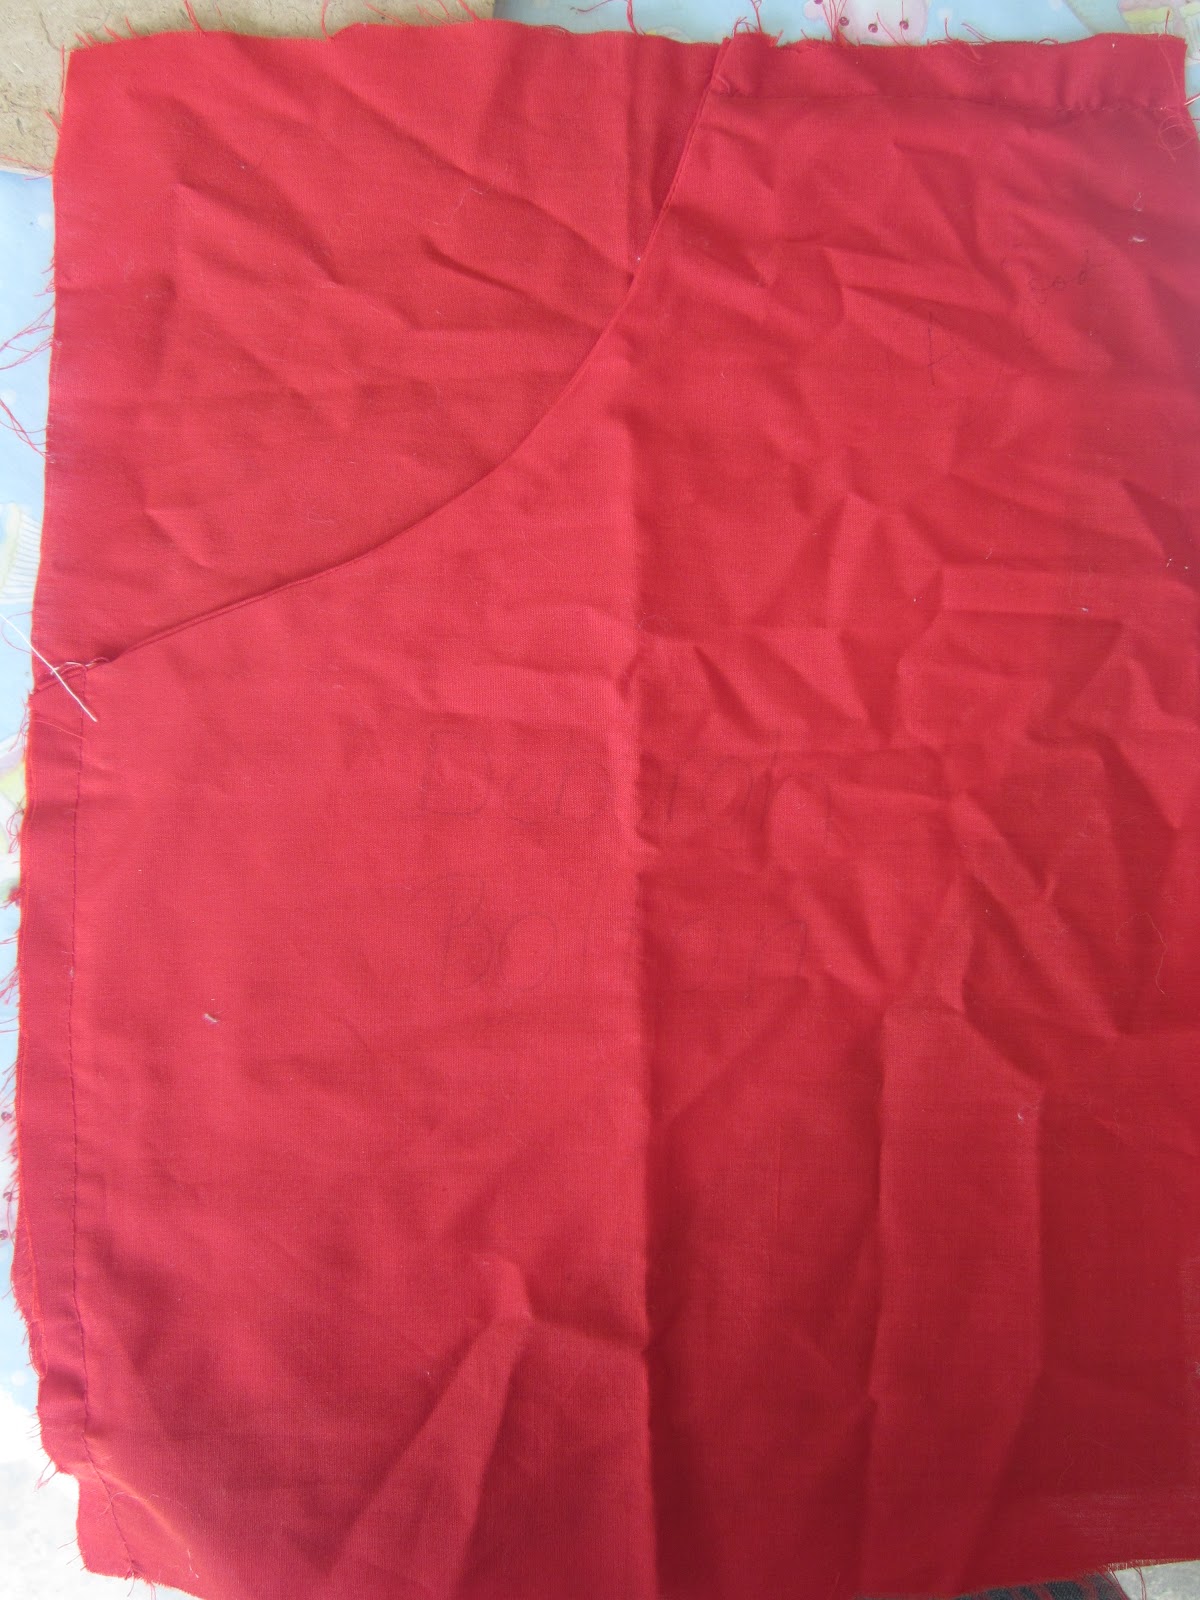
A frame from the Thrift shop

My very own A!!!

A spray painted frame

And wait for it...I just need to find some ric rac, wait for the paint to dry and will let you know........
Thrifty and lovin' it
Off to town today and with just a quick trip to Vinnies, I score yet again...I don't always check everything in the itty bitty store, but always check for furniture out the front...never much I must admit.
Checked for crystal glasses and chenille bedspreads but nothing so I popped over to the book section and picked up a great woodworking book for kids with 40 projects.......kids love it....2 soft toy books, with only a few projects but a dollhouse book, that folds out and ties back to form a dollhouse...perfect for the coffee table and to be honest my 2 yr old adores it and might just leave her sister's bigger dollhouse in one piece...here's hoping!!!


Checked for crystal glasses and chenille bedspreads but nothing so I popped over to the book section and picked up a great woodworking book for kids with 40 projects.......kids love it....2 soft toy books, with only a few projects but a dollhouse book, that folds out and ties back to form a dollhouse...perfect for the coffee table and to be honest my 2 yr old adores it and might just leave her sister's bigger dollhouse in one piece...here's hoping!!!
 |
| The girls lovin the new portable dollhouse |
 |
| So cool, two doors link each room...cupboards open.. |


I hope I can get the kids onto making this....what a cool idea!!!
 |
| This is the cool little book |

While checking to see the price of pegboard to deck out my office/craft/sewing space....I grabbed some pretty green coloured paint swatches....GUESS what I am going to do with these....
Tuesday, 13 September 2011
Doily stencilling Galore
I have seen lots of these gorgeous doily stencils and thought my little 5 yr old and I could give it a go yesterday. Since doing the silhouette bag recently for my friend, I realised any acrylic paint should be fine to paint and just go for it!!!
I started with this Vinnies serving tray. It was in perfect order until my 19 mth old dropped and broke it, but I think we can putty up the hole or something.


And after a few touch ups to fix up the smudged white paint from the adhesive, here it is. It is not as crisp as I would have liked, but I had to touch it up a few times and this took the crispness out of the design....but it will be fine for the kids to play with or have on a duchess. There has always got to be a trial run, and I am happy enough with this one!


I started with this Vinnies serving tray. It was in perfect order until my 19 mth old dropped and broke it, but I think we can putty up the hole or something.
Not pretty beforehand!!

I spray painted it white to start with

Then I put spray adhesive on the back of the doily to keep it still,...which then took the paint off (so either I did it too quickly or it may not be the solution)

And after a few touch ups to fix up the smudged white paint from the adhesive, here it is. It is not as crisp as I would have liked, but I had to touch it up a few times and this took the crispness out of the design....but it will be fine for the kids to play with or have on a duchess. There has always got to be a trial run, and I am happy enough with this one!

These are the doily placemats in the first stage. It was a bit hard for a 5 yr old to keep it in the lines, so I had to do the edges, but it will be a fun placemat for them. I just have to get my sewing machine fixed so I can sew it up. I just have to find some pretty letters and cut them out of gladbake or something to stencil in the middle.

Monday, 12 September 2011
Things I am loving this week!
Well, to start with can I say, I love a LOT of stuff on people's blogs and this past week I have tried these sugar cubes....they are so cute, but you have to be very careful with how much water you put in to join the sugar cubes. I thought it would actually be (not just pretty) but a very practical thing to make a coffee in the morning.
DIY Sugar Cubes at "Nifty Thrifty Things"

I am also loving these chevron (zig zag) themed walls, but especially these quartrefoil stencilled walls are definitely my favourite and I am keen to give it a go in my bedroom.....one day!!!
Aqua stencilled wall at I Heart Naptime

Also these lovely Ice Cream Labels at Eat Drink Chic and all their other beautiful stuff.

DIY Sugar Cubes at "Nifty Thrifty Things"

I am also loving these chevron (zig zag) themed walls, but especially these quartrefoil stencilled walls are definitely my favourite and I am keen to give it a go in my bedroom.....one day!!!
Aqua stencilled wall at I Heart Naptime

Also these lovely Ice Cream Labels at Eat Drink Chic and all their other beautiful stuff.

Sunday, 11 September 2011
Green Buoy......oh boy!!!
Yep, painted the set of drawers today and got the kids to work on their own project so the top coat was a little smoother.


Obviously no handles yet....but do you think I could wait to show off my "Pop" of colour in the bedroom. Will work on the handles next week.
I only used such a tiny smidgen of the Green Buoy (turquoise or teal) paint and it just dawned on me that is suits the colour of the lounge decor....WAHOOOOO!!!
This is what the kids painted....well one thing anyway...they painted about 10 other bits of scrap wood and an old pot, basically any old thing they could find.


Obviously no handles yet....but do you think I could wait to show off my "Pop" of colour in the bedroom. Will work on the handles next week.
I only used such a tiny smidgen of the Green Buoy (turquoise or teal) paint and it just dawned on me that is suits the colour of the lounge decor....WAHOOOOO!!!
This is what the kids painted....well one thing anyway...they painted about 10 other bits of scrap wood and an old pot, basically any old thing they could find.

We made the doghouse a few weeks ago and while it may not be a masterpiece of workmanship...I did it the best I could and it is cutesy....just need to sand the front of the roof back.
Hope you had a good weekend!
Saturday, 10 September 2011
Secondhand Sideboard redoux
I found this silky oak sideboard or set of drawers this week at the secondhand shop for a good price. It will fit perfectly into the corner of our room and help out with storage...perhaps it is my keenness to find vintage things,......but my closet just seems to be a lot fuller these days! The set of drawers came with no knobs, but that is good, they probably would have been quite yucky and old.....so that leaves the design completely up to me.

So here it is in progress......I sanded it this afternoon and the kids and I painted it...I know "SCARY thought", but they were very keen to paint so I let them do the back and sides and then I just went over it.....I then moved the kidlets onto offcuts of wood to paint and an old pot.


So here it is in progress......I sanded it this afternoon and the kids and I painted it...I know "SCARY thought", but they were very keen to paint so I let them do the back and sides and then I just went over it.....I then moved the kidlets onto offcuts of wood to paint and an old pot.

This is the undercoat we did this afternoon.....guess what colour I plan to paint it tomorrow????????
Anyone guessed my favourite colour of the moment yet??
Stay tuned.............
Sunday, 4 September 2011
50s Vintage Cowgirl Hens Night
So we had the Hens Night on the weekend and I haven't been able to post any of the fun projects I have been doing until the surprise was out.
Here they are... we went with a Vintage 50's Cowgirl theme as the bride loves vintage and is a cowgirl....


This is one with our vintage labels....mine was "Incredibly enough,...I don't give a S..T!" Bit rude, but thought it was classic. We had heaps of great labels, like "Don't Get Smart With Me!", "Coffee, Do Stupid Things Faster!" you get the idea. I am threading the candy hearts onto strings in this piccie.

And I just had to pop one in of my $10 fur coat, that the hen chose not to wear and I was very keen to wear it for this fun vintage occasion.....It was sooo warm!! Just had to pop this photo in of one of my bestest friends since Primary School....What a honey!

I made this little raggy heart for decor as the shower.

Then blew up a photo of the sweet couple and painted onto fabric with acrylic paint (did have three attempts at this because the photo was pixelated and so would definitely recommend getting a really clear good pic to get the silhouette just perfect.)


I thought they may be too sweet....but after that firecracker pasta a friend and I ordered....they were ABSOLUTELY PERFECT for settling some slightly hot lips!
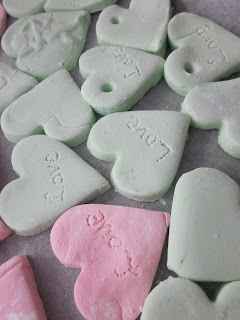


Here they are... we went with a Vintage 50's Cowgirl theme as the bride loves vintage and is a cowgirl....


This is one with our vintage labels....mine was "Incredibly enough,...I don't give a S..T!" Bit rude, but thought it was classic. We had heaps of great labels, like "Don't Get Smart With Me!", "Coffee, Do Stupid Things Faster!" you get the idea. I am threading the candy hearts onto strings in this piccie.

And I just had to pop one in of my $10 fur coat, that the hen chose not to wear and I was very keen to wear it for this fun vintage occasion.....It was sooo warm!! Just had to pop this photo in of one of my bestest friends since Primary School....What a honey!


Then blew up a photo of the sweet couple and painted onto fabric with acrylic paint (did have three attempts at this because the photo was pixelated and so would definitely recommend getting a really clear good pic to get the silhouette just perfect.)

I made some cutesy (although not that little) conversation candy hearts for the shower and to wear around our neck at the hens party. I had seen to write on the hearts with colouring, but time didn't allow and I don't think my lack of a steady hand would have worked,....so sort of punched in the writing I wanted with a skewer.
I found these candy hearts at http://www.remodelaholic.com/2011/01/homemade-valentine-conversation-hearts.html

I thought they may be too sweet....but after that firecracker pasta a friend and I ordered....they were ABSOLUTELY PERFECT for settling some slightly hot lips!
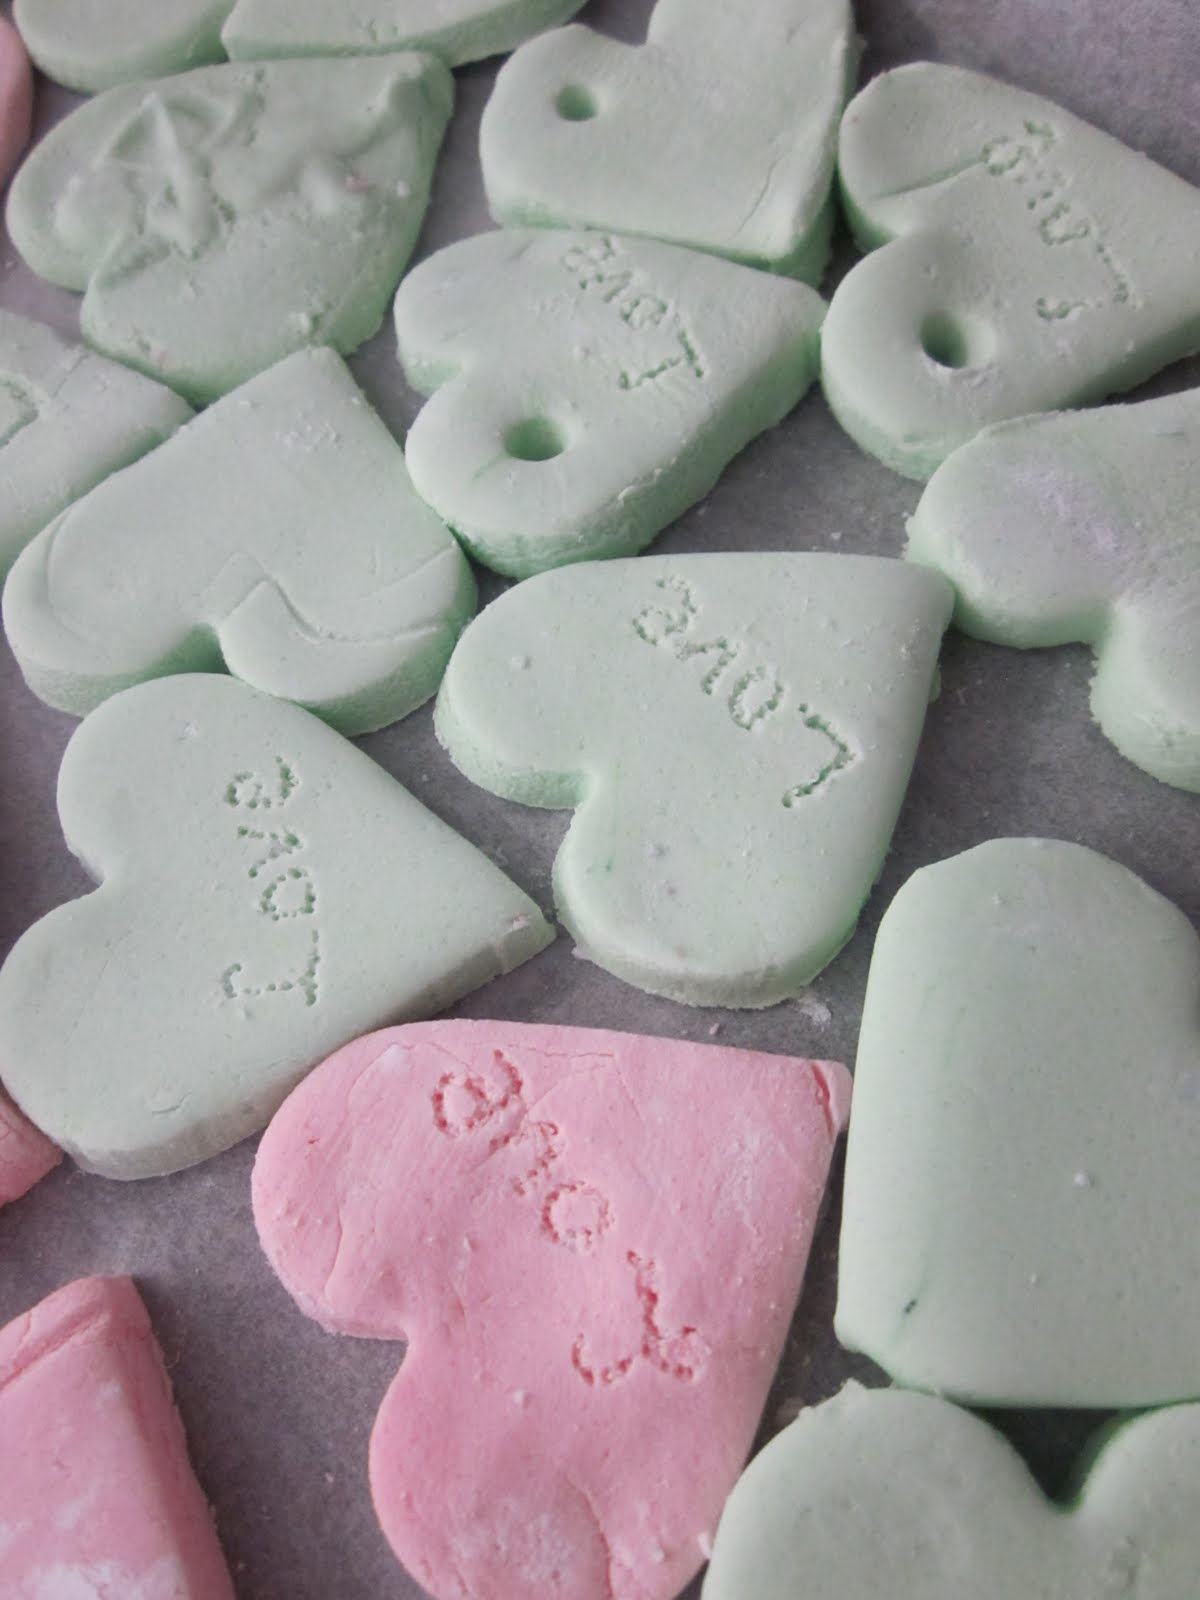

I also found this cute little vintage man and wife at Vinnies and painted them white.

I wanted to make a vintage looking apron, so I found a gorgeous print, printed it onto transfer paper, ironed it onto calico (my printer did not work well at this even thought it is inkjet, the print wiped off if I touched it and is very pale....but Vintage......!!!! So I guess it worked out. Then I blended the colours of the dresses that we planned to dress the bride in.

More photos will follow of our Vintage Cowgirl outfits....
Subscribe to:
Posts (Atom)