Tuesday 30 August 2011

Silhouette sweetie

I have been loving silhouette's for such a while now and finally got around to giving it a go this week.

Here are the end results of some fun painting with my sweetie and I.  We will make the calico one into a library or homework bag...that will double as a handy bag at home.

I am thinking her little silhouettes will be great on school books in the bottom corner, instead of her name, a gorgeous little silhouette label... can't wait to do it.

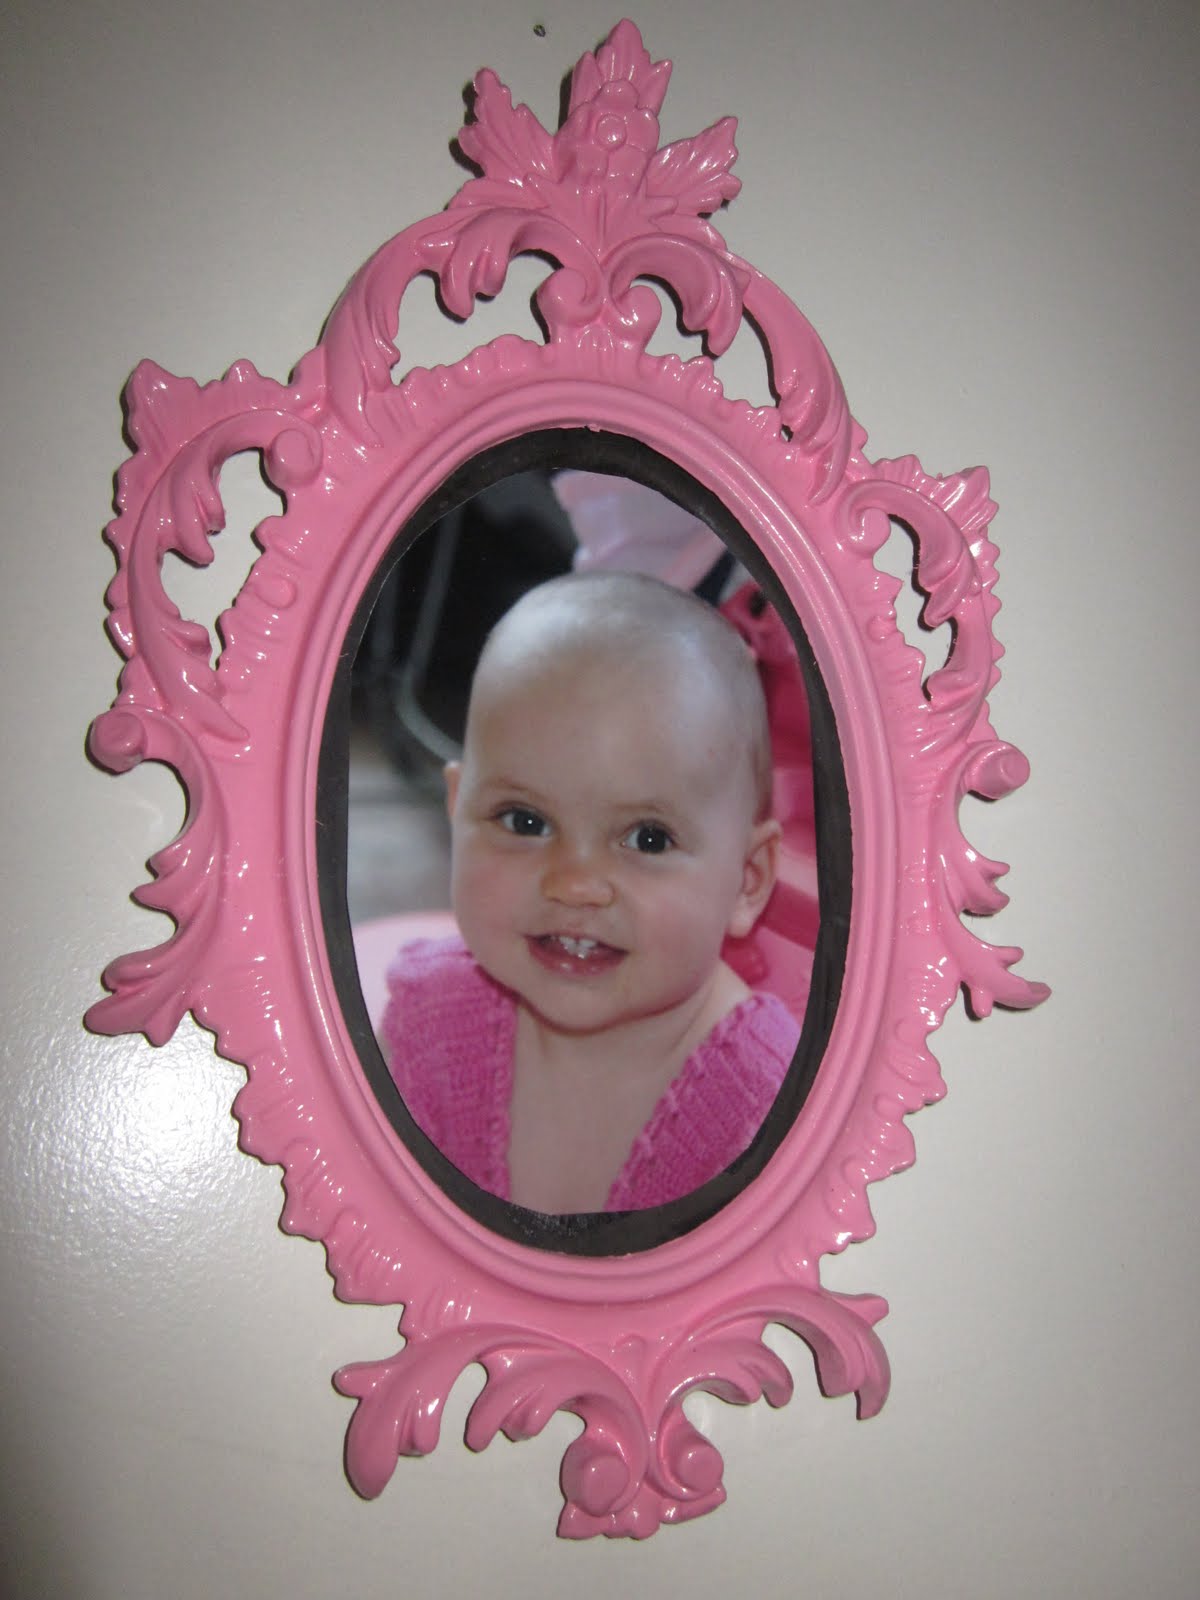
This printout was done after I took the photo on cardstock, then cut out the piccie, then I scanned it and placed it into a frame, then printed it and spray painted a frame to match and it now takes pride of place on my sweeties ducchess.....later to be hung amongst her photo wall collage.


This is our original work, together we painted the calico, I did the outside lines and sweetie the inside.  I wouldn't do it on glossy photo paper again as the black ink came off into the paint and had to redo it.  Just print on plain card.


I couldn't help it, I recently bought transfers and had never used them and really wanted one on her shirt like I had seen on TomKat Studio with her little girl...so beautiful.  Obviously I need a laser printer and it comes out completed and powdery so if I touch the image, it wipes off....Anyone that can help with this would be a great help.  So this print on a tshirt to go with her pettiskirt and dec out later is quite washed out as you can see.

Boots Gone Western!

I bought these $4 boots at Vinnies a few months ago, and don't think I would actually wear them out black...not really my colour, so have been sitting waiting, wondering what I might do with them....


I covered them in tape and elastoplast  around the metal bits....I knew it would stay on properly.

Then hit the spray paint, with them hung on the clothes line.   It wasn't the tan I was after, but would have to do.


I hot glued some old tassles on and I have my brown western boots.

I have sent them Western!

Saturday 27 August 2011

Dollhouse furniture redoux

Now I loved barbies as a little girl, and always struggled with the fact that my sister did not love playing them anywhere near as much as I did....thank heavens for best friends!!

Anyway my eldest girl isn't really that into dolls, but all she wanted last year for her birthday was a dollhouse, so Daddy built her one, with the intention, that when she wasn't interested in it anymore it would work really well as shelving.

We are about to attach the roof, so piccies of the whole thing later...but yesterday we did a quick spray paint of some old my barbie furniture (Yes, I have kept every single barbie in mint condition and their beach and outdoor furniture....I said I loved them)

Here are the pics.  I found some old grinder boxes, really strong cardboard,..gave them a quick spray paint and they are the kitchen shelves
Before:
After: 

The old table of mine.

In it's new glory in the kitchen.  The mat is a cut up old bathmat that we dyed.

                   An old makeup case with a modge podged computer screen.
 

My old poolside set, pool missing, but pepsi bottle, esky, table, chairs and backdrop still fine


Tuesday 23 August 2011

Swinging in the 50's

Just had to show off my latest vintage find, this pretty pretty aqua dress with loose top is definitely something I couldn't just leave in the shop without some great use.

I can't help but show you the pics of my littlest darlin' and I swinging to the 50's vibe....


I love teal and aqua and I don't suppose this combo is too crazy,...but not my fave, just the only wide belt I had.


and then how I wore the top out the next day...

Did I mention the outfit (aqua dress) was $4, the shoes in this pic, I haven't shown you yet, but you guessed it $4......I am really really saving up for a pair of Lucchese or Ariat tan western boots, but in the meantime,...these will do just fine!!!!

Repurpose bacon tray.....

Cleaning out a cupboard this morning, I came across a "bacon defrosting tray" and I thought what a great little letter holder it would be....so painted it and all done.

                                                                               Before:

After:

Friday 19 August 2011

Condiments tray repurposed


Unfortunately I only have the after shot of this cute little condiments tray...it was rusty silver and even had the original old old tag on it....but in my exitement to spray paint this little baby I forgot the before and after...might need to take photos as soon as I get home in future to solve this problem.


Anyway, it is the perfect egg carrier, to transport our homegrown boiled eggs (our main breakfast staple) to the table for everyone.

It makes the quick dash to the table (so the eggs don't get too hard) much much quicker...

Oh, how I do love repurposing!!!

Wednesday 17 August 2011

Vintage patterns


Years ago I was lucky enough to receive some gorgeous 1950's and 60's vintage patterns from a friend and have collected a few myself.....I soooooooooo cannot wait to make one of these dresses in some vintage fabric I picked up at a garage sale last year.....Don't know if I will have the patience to sit down and make a whole dress...but sure hoping it will happen.


Gorgeous and so ladylike and flattering.

Scarf rosettes


As I said last post, I just love making these rosettes and have a heap just sitting in a tray made up ready to decorate whatever project I take on next.....

This was a vinnies scarf I recently decorated with rosettes.

Headbands


Now that I know what I can do with those scraps of fabric that I have been saving for years....and I mean years, I have stashes of fabric dating back to my primary years and I have even started grabbing Mum's stash that she plans to throw out if I don't get to it quick enough.  I love making these rolled up flowers and joined two headbands  together a few months ago and added these rosettes.


Prior to this I saw a headband that was just felt cut into a flower with cotton sewn roughly on top, so my little darlin and I made up our own idea and she picked the nice bright colours and we did our own.  This is on an alligator clip so we can add it to whatever we like.  Probably should be a brooch too!

Wall of photos

I am just loving these gorgeous walls of photos that are seen everywhere, so I decided to do a wall of photos for my little girl.  We painted the frames together and picked the colours together which was sweet and fun.  I look forward to adding to it as we go along.

Hairclip holder - Birdhouse


Early last year I realised the mountain of clips that my little girl and I had and were making together was getting out of control and we had to make something to hold them.  I had seen bird houses with lights in them to use as wall decor, but took this idea a touch further and made our own Birdhouse hairclip holder.  I need to extend the ribbons to attach many more clips, so that will be soon I guess.


The whole birdhouse is made from cardboard boxes, that are covered with material and hot glue and then the ribbon pokes out of holes in the bottom.

Wednesday 10 August 2011

Oops I did it again

Gosh, these full days in town certainly are not helping my addiction to thrift.

Had a great day at the op shops around town today...bought some cutesy figurines in all shapes and sizes to paint white and update them into funky decor.

Another silver tray!!!!!

A frame, a pair of brown boots $4, a leather belt, a really great green dress, and a cardi.

The dress needs taking in under the arms, but not too tricky for a $4 find.


Oh and I have been searching for just a general all purpose medium weight jacket for the past few months, so that my old denim one gets a break (although it has recently had a new lease on life with an ocean blue dye, which brings it more to the shade of my jeans).

Anyway, the shop I found a fur coast last week, tempted me to stop in...I found this girls jacket in a size 16, in turquoise (loving the colour soooo much) and it was just $3, can't believe it......it is basically new, doesn't even look washed....PERFECT!!!


The cardi, while I though it would be nice transformed, I think it is quite nice how it is....a really nice navy blue.  It actually has like a high top collar, quite nice....


What a day....and I came home with the kids all in tow....to top off a great day, we made icecream and frozen berry milkshakes,....soooo yummy.  The kids actually made them and I whipped it up.  They don't need to know they just got a great big dose of antioxidants.

A berry delicious, berry fun day!

Hope you had a good one too.

Monday 8 August 2011

Personalised Memo Boards for kids

In my attempt to get the craft room sorted, I came across old placemats with cork backing. I don't use these and the patterns were certainly not drawing any good attention. 

I also have been making the kids their own personalise calendars to hang above their bed for the past 6 months so they can see what is coming up each day and mark it off that night, therefore get excited about holidays, kindy etc and not have to ask me how many days (EVERY DAY!!!)

Since I only put paper calendars on an old manilla folder, it wasn't looking that great.  So I figured I could cover these placemats with material and use one part to store photos or pictures and the other section to place the calendar


My first attempt, while looking funky, didn't work quite as expected. The cork was too thin to put a push pin into, alas how do I put up their calendar.


After a week or two deliberating, I realised I just had to put ribbon on all four corners and the lightweight page would hold in that. I obviously haven't put the criss cross ribbon on yet, have to get to the craft store to get the ribbon.


My little cowboys is quite cute too.  Still loving being a little cowboy so this fabric hasn't gotten to babyish for him yet.


Boring old scarf from Vinnies gone and got ruffled

I have been alerted to the fact that grey just goes so well with everything....would love a grey handbag one day, but just not yet.  I saw this scarf at Vinnies and it was really really ugle to me, but for 50c I thought I would take on the challenge to funk it up.


I simply sewed some pleats into the scarf all the way along, then found some leftover lace I had....but alas I only had enough for one side...isn't it funny how creativity takes over at times like this, because once the scarf is twisted up gently, you only need the lace on one side...so the lack of lace really was no problem.


I have worn it once and am very happy with it.....not so ugly anymore.

Madeover quite a few other scarves from Vinnies....stay tuned for these

iPhone holder

I was definitely very sick of rumaging around in my bag for my phone when out and about and although the n ice leather ones on the market look lovely,...I obviously wasn't going to buy one.  When coming across some leftover PUL (polyurethane fabric....laminated, breathable fabric) that we used to make cloth nappies for my kids, I thought this would be the perfect fabric for the phone.  It is stronger and more durable, waterproof and Mickey Mouse was cute enough for me.  Now I stays permanently in my bag attached and the phone comes in and out and never escapes my reach.

Command Station cuteness

I am loving all these command stations that people set up for all those things that end up looking messy, but are needed every day at regular intervals...so I had a go....not suggesting it is anywhere near as cute as the heap I have seen, but have had it for a few weeks now and it works a treat and is much more pleasing to the eye.  I covered some old tin cans with paper and modge podge, spray painted a little bucket and a silver serving tray, and the turquoise cake server (minus the handle).  We have our treats jar filled with fun things like "Star Gaze", "Scavenger Hunt", "Picnic", all those things the children get if they get their chores done without any (well very little) requests from me.........


And my magnetic memo board, bought at Ezibuy with an old hanging tin handbag, that I thought I could keep all those (to be paid, to be filled out) projects that have a due date for kindy and school.  Again both are working well.

Girly stool

Once upon a time I would have just painted this stool gold or silver to keep with a conservative pretty theme for my 5yr olds bedroom, but seeing the fun stuff people are doing with spray paint and colours these days I thought I would be adventurous...after all her room is based around rainbow and pretty colours...

The purple is darker than I had hoped, but still a fun addition to the room.

I used some leftover fabric to cover the chair, after making a kitty cat bed for my niece with the initial piece.


                                                                     Before:


The before was very shabby indeed, but this was $5 at the local secondhand shop so that suited me fine.

Gorgeous ornate frame

I have seen so many of these frames over the past year and yet have never seen any in our local shops or area...granted I don't get out that much.  But I found one at Vinnies recently and was thriilled to find out.

Here it is redone to suit my sweeties room.


And while I am on the subject of yesterdays spray paint job, here is a magazine stand I painted in the same colour.  My little darlin' now craves a book each bed time, so I painted this to match her room and now I can grab a book with ease.

Before:


After:


Thursday 4 August 2011

Busy Busy Bee

I haven't been on here for a while as we have been visiting family for the past weekend and have welcomed a new baby nephew on Monday and got to see him yesterday. 

Whilst I was away though I got to spend a short hour in some antique shops in our capital city.  I saw some great things, and realised that my local Vinnies store is really giving me some great deals, which is always nice to know.

I also came across some vintage embellished wallpaper, that I can't wait to line the back of a bookcase or our new entertainment unit with....once hubby actually builds it.  I have seen the fronts of drawers lined with vintage embossed wallpaper and then painted, and it looks like pressed tin panels.  Love it.

Will post a photo later in the week.

Have a good weekend all!